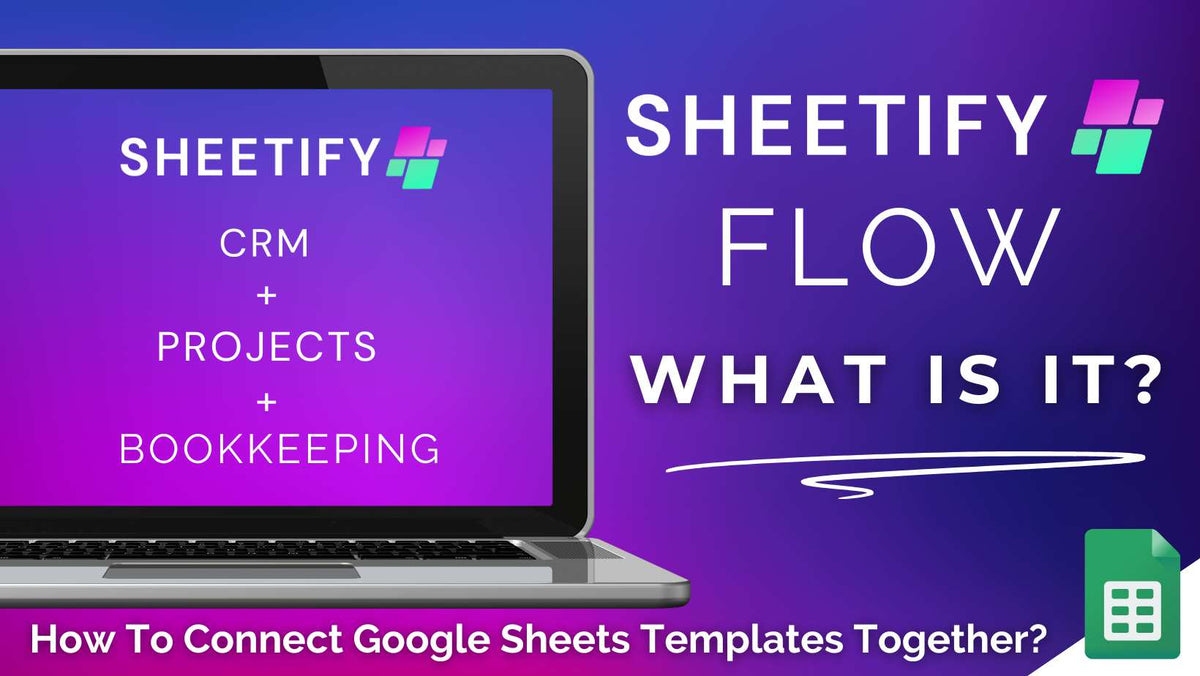
What Is Sheetify Flow? Connect Google Sheets Templates Together
|
|
Time to read 5 min
|
|
Time to read 5 min
Attention all Sheetify CRM users! Do you wish there were a way to connect your Sheetify CRM Google Sheets templates together?
You’re in luck! Meet Sheetify Flow, a powerful and completely free Google Workspace add-on built to effortlessly connect your Google Sheets files and templates together.
Sheetify Flow acts as a central hub that connects your Google Sheets templates, files, and data together using automations across Sheetify CRM, Bookkeeping, and Projects.
If you’ve ever wished your Google Sheets could ‘talk’ to each other, Sheetify Flow is the solution you've been waiting for!
Read more about everything you can do with Sheetify CRM here.
Made explicitly for Sheetify customers, Sheetify Flow essentially connects Sheetify business toolkits together to automate the flow of data between your spreadsheets.
This means you no longer have to manually update your transactions, purchases, and project costs across Sheetify CRM, Sheetify Bookkeeping, and Sheetify Projects sheets!
That’s right, instead of manually copying key details from one spreadsheet file to another, Sheetify Flow’s automatic triggers handle it for you.
Imagine Sheetify Flow as the behind-the-scenes courier that keeps your CRM, Bookkeeping, and Project management departments in perfect sync, never missing a beat.
The result? Clean, consistent records that update automatically when an action is taken, saving you time while keeping everything aligned!
Read more: Can Google Sheets Do Project Management?
Sheetify Flow brings your data to life by triggering smart automations the moment key statuses are updated within your various Sheetify templates.
Here's how it works across different workflows:
So, how exactly can you set up and use Sheetify Flow’s automations to connect your Google Sheets templates together?
To set up Sheetify Flow, it’s important to note that you must have access to at least two Sheetify business toolkits.
For those interested in buying our Sheetify CRM business toolkits, click here to purchase one of our lifetime value bundles.
Getting started with Sheetify Flow is quick and straightforward. All you need to do is:
Here's a step-by-step guide on how to set everything up from scratch:
Open any of your Sheetify Google Sheets spreadsheet templates.
Refresh your sheet (if needed).
In the top menu of your sheet, click ‘Extensions > Sheetify Flow > Show sidebar’ to open the Sheetify Flow add-on panel.
For each toolkit you use (CRM, Bookkeeping, Projects), copy the full URL of the template from your browser.
Note: If you don’t use all three templates, you only need to add the URLs for the ones you do use!
To begin automating tasks between templates, you’ll first need to activate the automations for each toolkit:
For CRM automations:
For project automations:
Note: While there’s an option for activating Bookkeeping automations, there are currently no outbound automations from Bookkeeping (yet! Watch this space!).
Return to the Sheetify Flow ‘Automations’ sidebar in your Sheetify CRM or Projects template.
You should then see a list of available automations.
Click ‘Enable Automation’ next to any automation you want to turn on (you can disable them anytime just as easily).
Once you’ve enabled these automations, Sheetify Flow is fully configured and ready to automatically move data between your templates.
And get this: After you’ve configured Sheetify Flow automations, any team member can trigger them, regardless of whether they have access to every Sheetify template!
For example, a sales rep marking a transaction as ‘Completed’ in the CRM can automatically send that data to Bookkeeping, even if they can’t access the Bookkeeping sheet.
Once set up, Sheetify Flow automations work behind the scenes to automatically move your data across Google Sheets templates based on specific status changes.
Each automation is triggered by specific status changes (Received for purchases and Completed for transactions, projects, and tasks).
These status labels are built-in and standardized across templates to ensure consistency across all Sheetify CRM templates.
Here’s how each Sheetify Flow automation works:
Sales transactions to income tracking: Once you mark a transaction as ‘completed’ in Sheetify CRM, Sheetify Flow automatically transfers that data into your Sheetify Bookkeeping ‘Income’ sheet.
Purchase orders to income expenses: When you update a purchase order in Sheetify CRM to ‘received,’ the system instantly logs the purchase under ‘Expenses’ in Sheetify Bookkeeping, automatically applying tax calculations based on your predefined settings.
Sales transactions to project creation: A completed transaction status also triggers the creation of a new project in Sheetify Projects, including all relevant details like the account name, transaction ID, and products or services sold.
Finished projects to expenses: When you mark a project as ‘Completed’ in Sheetify Projects, any associated costs are automatically moved to Sheetify Bookkeeping as an expense entry.
Finished tasks to expenses: Similarly, marking a task as ‘Completed’ within Sheetify Projects automatically moves the task’s cost and notes to Sheetify Bookkeeping under a new expense entry.
It’s important to note that if you enable both the ‘Completed project to expenses’ and
‘Completed task to expenses’ automations, you’ll end up with duplicate expense entries.
Therefore, I highly recommend only activating one of these two automations.
And that is everything you need to know about Sheetify Flow!
As you can see, Sheetify Flow seamlessly connects your Google Sheets templates, resulting in improved workflow automation and enhanced productivity for your business.
Want to know more about Sheetify CRM business toolkits and if they’re the right fit for you? Find out here!
Have you used Sheetify Flow yet? What did you think?


